Blog
Ten things I learned about long exposure today
Well, it’s been a long morning, in more ways than one. Up at 5:30 and back out into the pre-dawn dark, armed with my shiny new ND filter and battered old tripod. I had a specific mission today: Experiment with slow shutter speeds to create some of those misty, ethereal seascapes I salivate over on Instagram, where the waves look like clouds swirling around mountains. As I started the engine, I realised I hadn’t decided on where I was going. I had two locations in mind. One was a spectacular sea arch a good forty five minutes away, the other closer by, a rocky, sheltered beach I sometimes surf at. As a gust of Penghu’s famous North Wind buffeted the car, I decided on the sheltered beach. Whale Cave (as the arch is known) could wait for a calmer day. Twenty minutes later I squeezed the car along the narrow track through the tangled palms and ferns until the road ran out and I reached the bay. Catching sight of the tiny waves, I nearly got straight back in the car. They were no good. Hard to create the dramatic scene I had in mind with ripples. My eyes swept the coast line from left to right, settling on the headland, glistening black and green as the retreating tide exposed the algae covered rocks. Hmm. Maybe worth a look after all. I hoisted my camera bag and started to walk. Two hours later I hobbled back on knees stuff from squatting behind my camera, memory card stuffed with images, the quality of which was anyone’s guess. Breakfast, coffee and Lightroom awaited. But however the photos turned, I had certainly learned a lot about long exposure photography and photography in general. Here’s the lowdown, in case someone reading this wants to give it a go.
Take a Walk
If I had have turned around and got back in the car, I would have missed out on what turned out to be a beautiful photographic opportunity. By taking the time to wander the beach, I not only found what I’d been looking for (waves washing over rocks) but also this vivid green algae on wet, barnacle encrusted rock, a perfect foreground to add colour and detail to what would otherwise have been a rather drab scene, weak morning light on a grey blue sea. I didn’t realise how good the algae looked until I got over there.
Bring Suitable footwear
I knew I’d be on a beach, but I hadn’t anticipated wading through rock pools and flooded channels. Luckily I had a pair of rubber shoes with decent grip, because that pretty algae coated rock was as slick as ice. Traversing it with my tripod-mounted camera in the wind was challenging. In flip-flops I’d now be looking for a new camera.
Use Live View
This might be blindingly obvious to anyone who’s used an ND filter before, but in case you haven’t, I’ll let you in on a secret. It renders your viewfinder useless and looking through it is akin to being in a dark room with sunglasses on. I spent a couple of minutes squinting through it wondering what the hell I’d done to my camera before it dawned on me and turned on the screen. Problem solved.
Watch for droplets and have a lens cloth to hand
At least fifteen of my photos from today’s session were unusable (unless you like photos half obscured by a big blurry water droplet.) Had I reviewed each one immediately and not turned off automatic review like one Youtuber recommended in his video, I’d have noticed. Luckily, for once I was actually prepared and had a cloth to deal with the offending bit of ocean on my lens. If you’re getting close to breaking waves, chances are you might encounter the same problem. Oh, and clean your camera after. Salt spray is nasty (you don’t need me to tell you that.)
Shorten your tripod as much as you can
You’re probably going to want to get low and close to the action for these shots to look effective. Besides, trying to use a tripod at full extension on uneven rock is damned-near impossible. I know because I wasted at least five minutes trying to get my horizon straight before I brought in the legs and killed two birds with one stone.
Get close to the action (especially if you’re going wide angle)
Having reviewed my photos one thing is clear, most of them are rubbish and it wasn’t the environment’s fault. I had plenty of shots of water swirling over and around dramatic-looking rocks. The problem was, most were too far away to look interesting and didn’t stand up well to cropping-in. On my best shot, the rock I wanted was right under my camera’s nose. That’s how I got a water droplet on my lens. So get in close if you want to avoid disappointment.
Be prepared to ask yourself “The Question” (and answer it wisely)
“Am I prepared to lose my camera and/or drown myself for this shot?” I was looking at this trio of dramatic rocks which the waves were surging towards and cascading over. If I could just hop over this narrow, water-filled chasm I’d have the perfect platform to capture the scene and an awesome photo to show for it. Jumping the fissure wasn’t the problem, it was only a metre or so across. Sticking the landing, on wet rock, with my tripod and camera in hand however… I weighed my chances as even. Brave, not stupid, Jonathan. I looked for another rock to shoot.
Watch the tide (and your stuff)
It’s so easy to get lost in taking photos and forget where you are along with all sense of time. That can be a problem if you started your shoot at low tide on the end of a long rocky shelf jutting out into the sea. What happens is, the moon sees you having fun and not paying attention and thinks, I’m going to drown this fool. You turn around and your route back to safety is gone. Or, almost gone in my case. In truth I hadn’t totally forgotten what was happening around me, but I was being greedy and wanted ‘just a couple more shots’. I nearly had to swim back with my not-so-waterproof camera. But not before I rescued my gear, which I’d sensibly stashed next to ‘that big rock’ while I roamed around on the rocky platform. I found it moments before the sea did.
Longer isn’t better
When you’re starting out like me, you might think “Awesome, I have a 6 stop ND filter, I can take 8 second exposures and they’ll definitely be awesome and better than 1 second.” Only, they’re really not. The longer you go, the more you smooth the water, until you reach the point where you can’t see any movement or any details. Now that might be what you’re looking for but I found that all my best shots today were taken at between 0.5s and 2s. Longer than that and I lost the sense of drama and movement I wanted in my images. But play around, by all means. Spin those dials, find the sweet spot.
Mix it up and don’t forget the basics
It’s tempting whenever you’ve got a tripod set up on what you think is an awesome spot to dig in and take a hundred photos. I did that for a while today and ended up with thirty photos that looked more or less the same, none of which were that good. So, mix it up, get low, get high, change your angle, move over there, spin that dial, change your focus and aperture and shutter speed and all that. Find dramatic subjects and don’t expect the sea to do all the work for you. Find a foreground that works and adds colour and detail, because otherwise you’re going to be looking at a lot of sea when you get back to your computer.
It takes time and you might be disappointed.
I suppose you can say the same about any type of photography. I spent over two hours today and didn’t get the killer shot I hoped. I actually got a better one without my ND filter or tripod, almost accidentally, a few days ago. Long-exposure is a time-consuming, difficult technique that’s going to take me a lot of practice and some trial and error. But, I think done right, these kind of shots look incredible and are well-worth the investment. I hope you enjoy the fruits of my labour. Expect to see plenty more in the near-future.


Rediscovering my neighbourhood
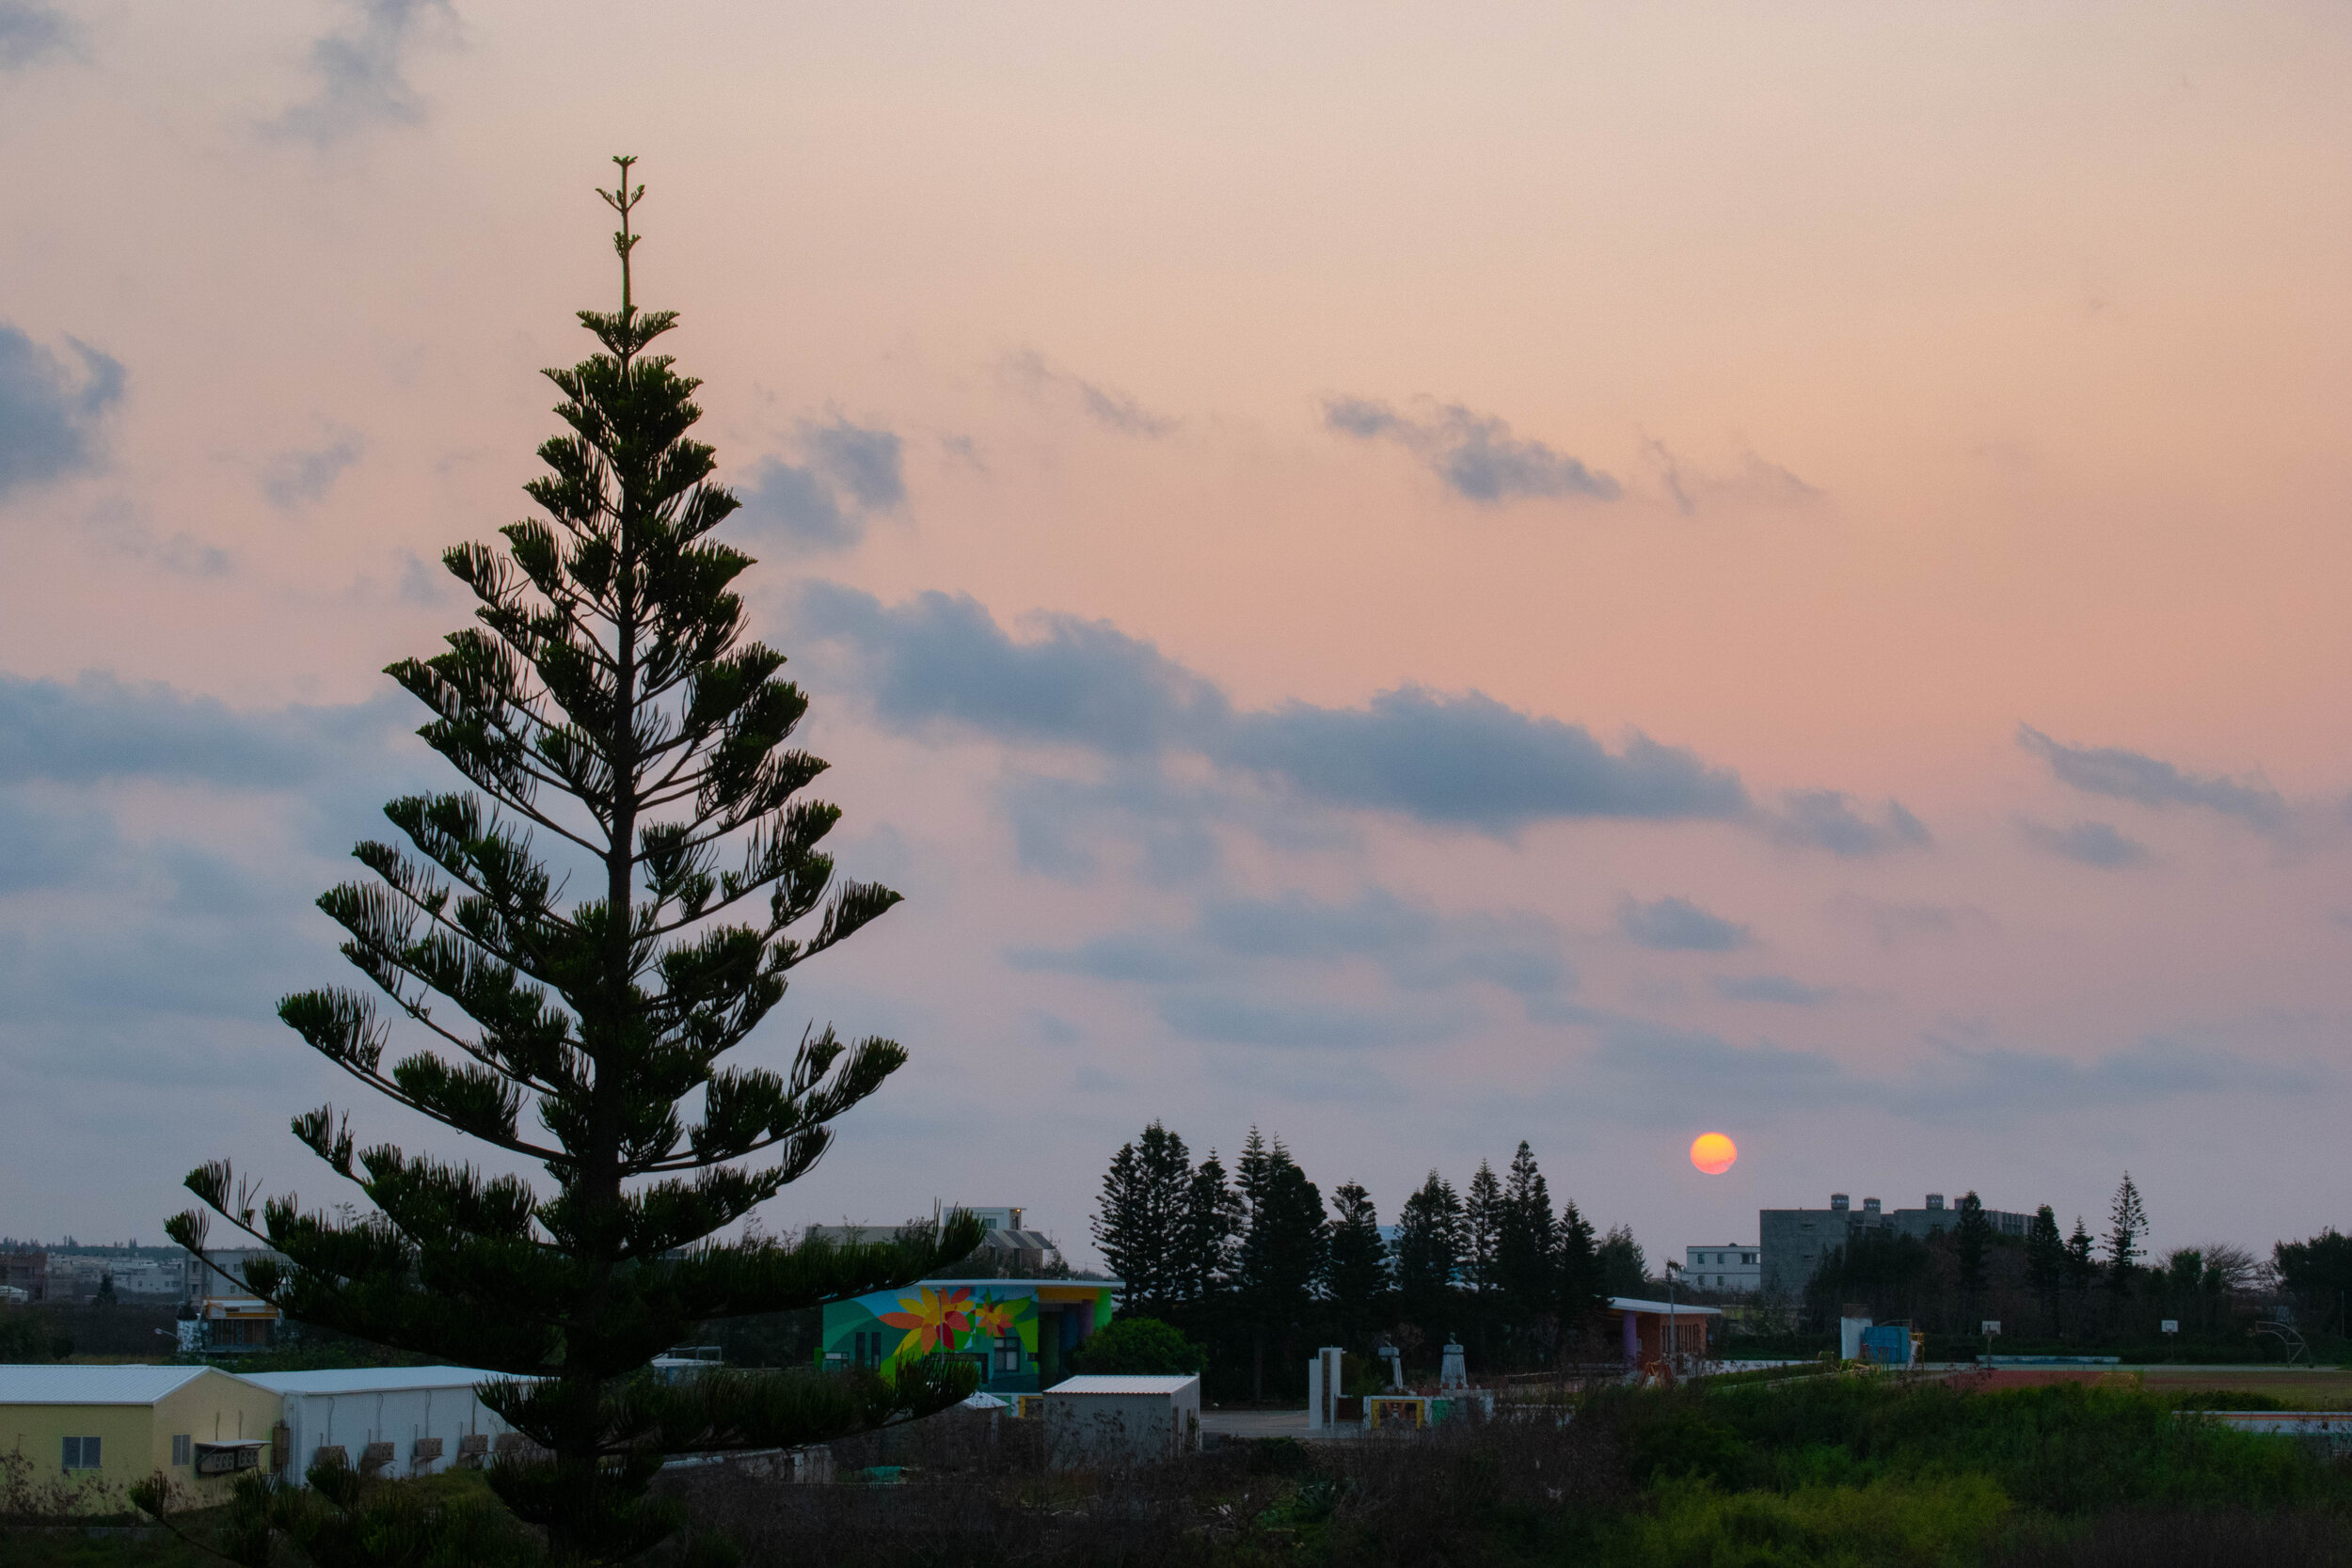
Having got up for the sunrise three out of four days this week, my body clock is begrudgingly started to resign itself to the routine. From my prone position I can see a small patch of sky, just enough to inform my decision to creak out of bed or pull the covers tighter. This morning it was clear and lightening with a magenta glow feathered with a few dark clouds. Cold floor it is, then.
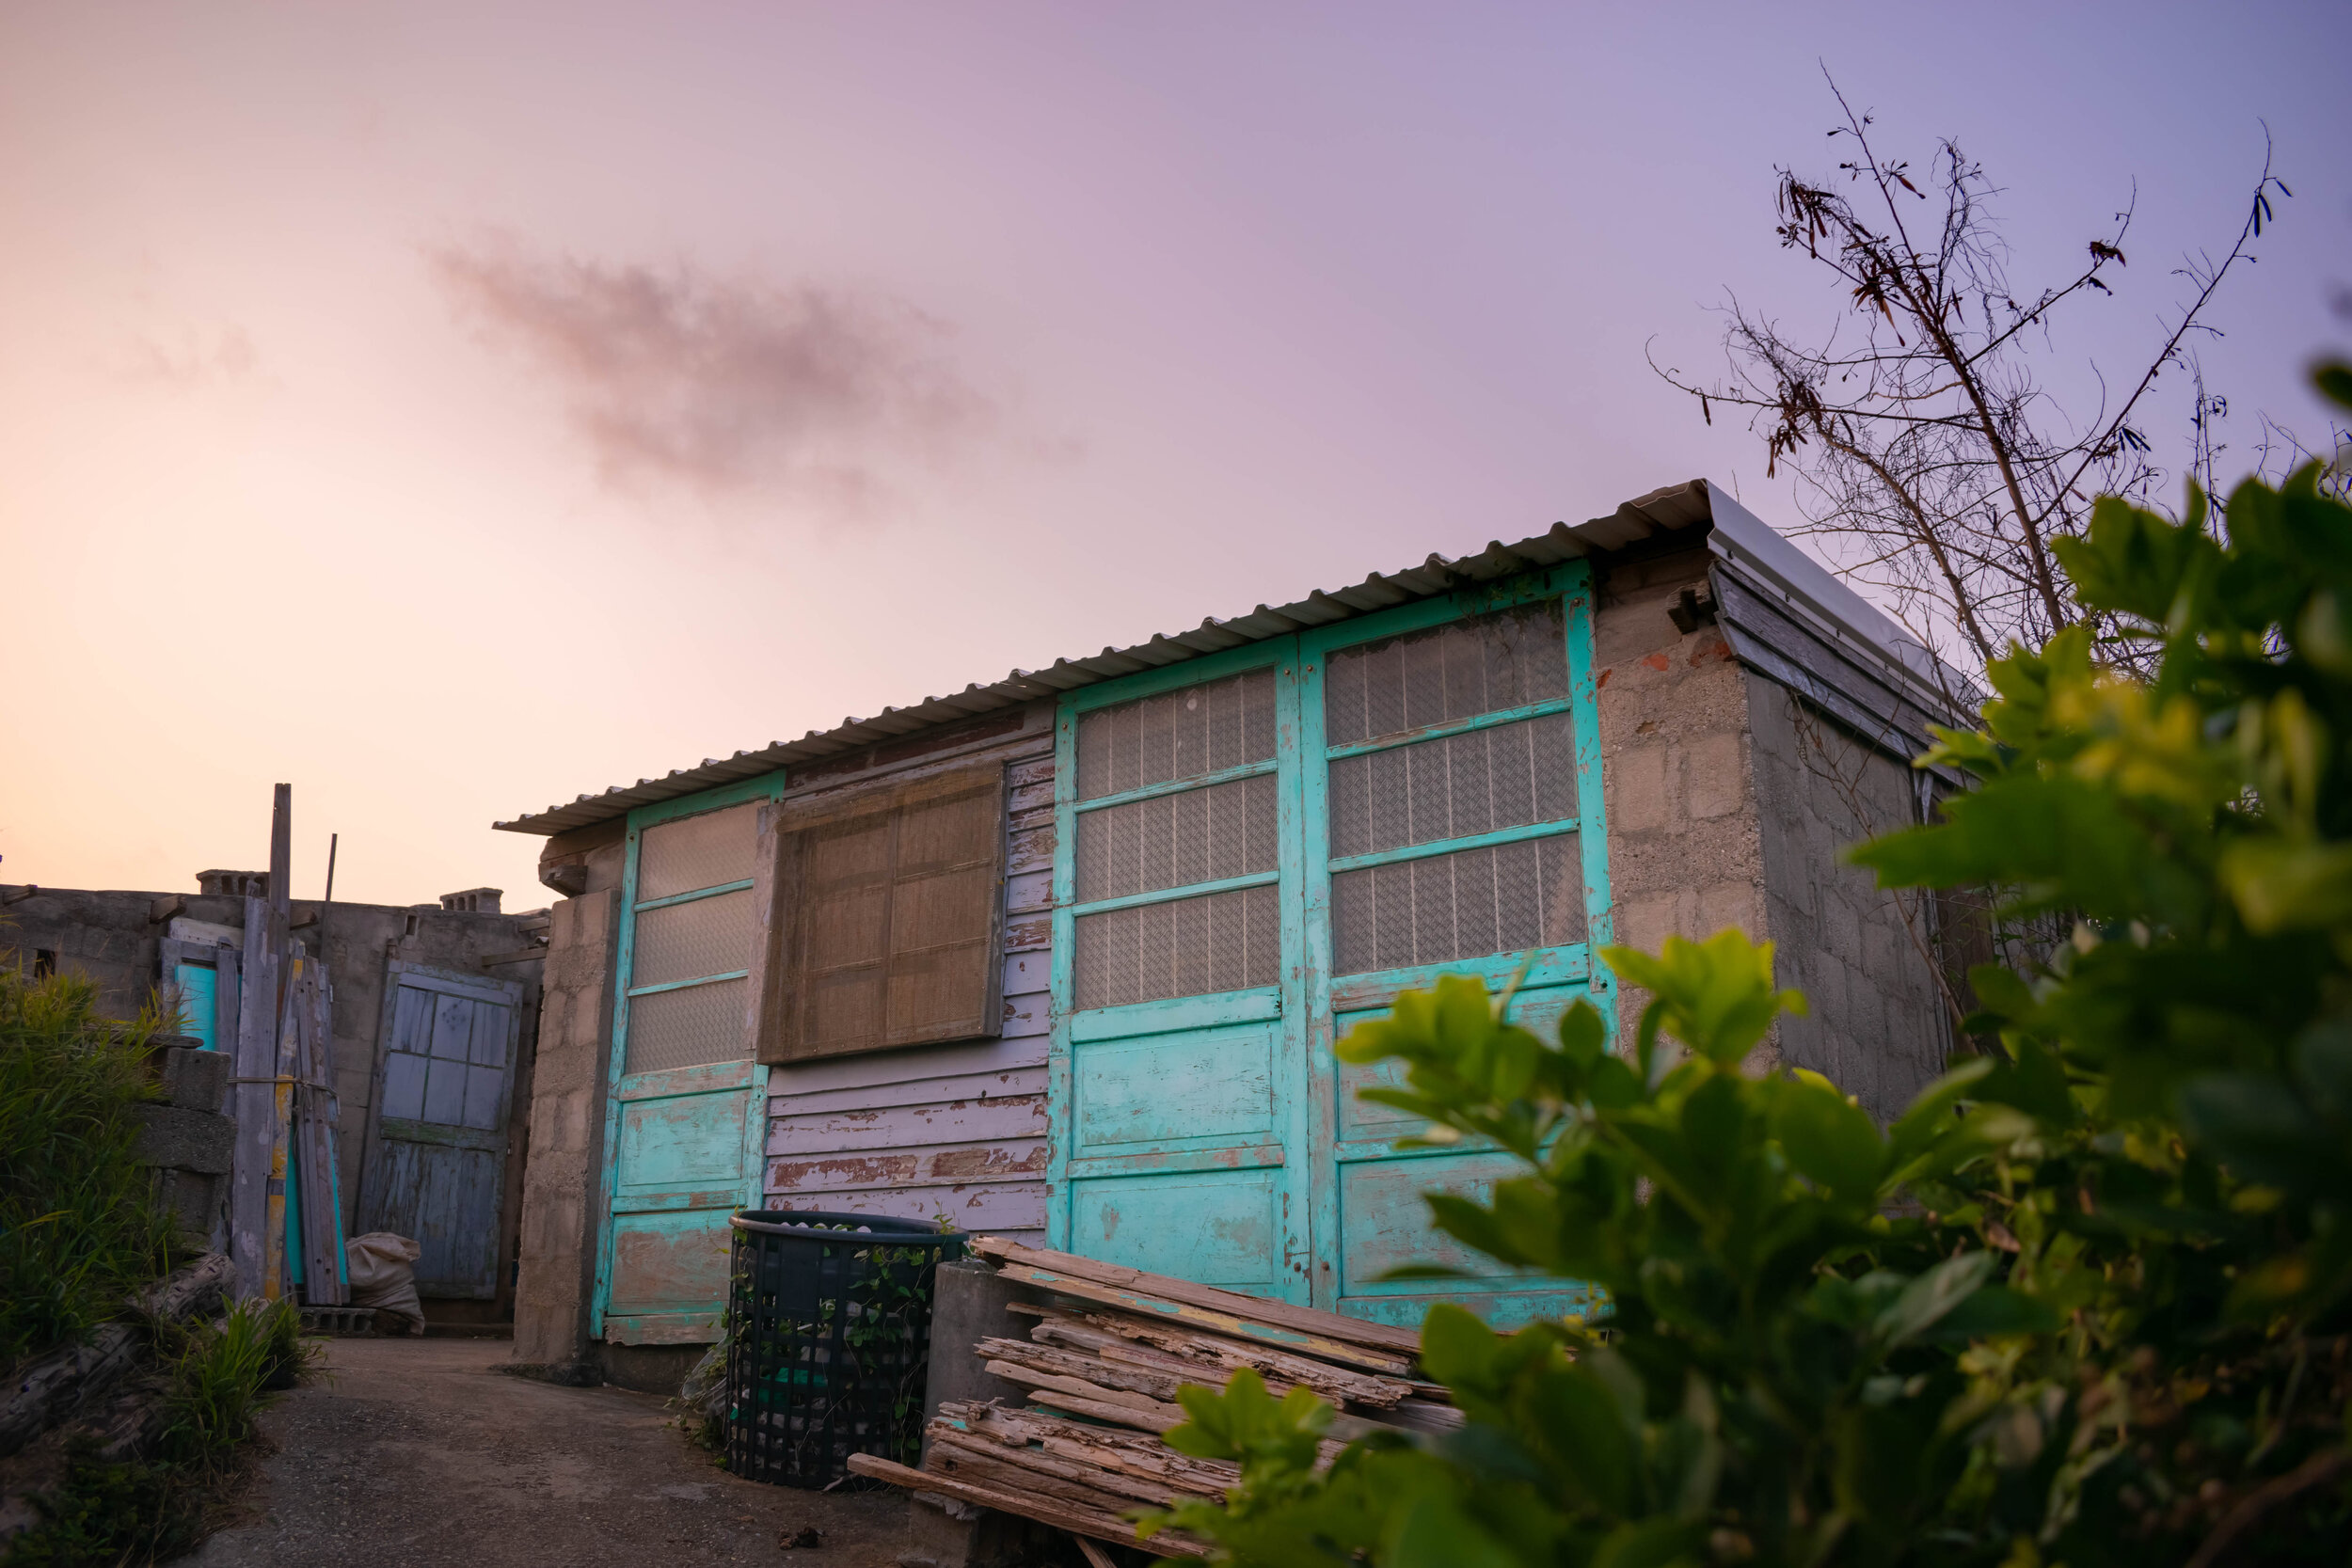
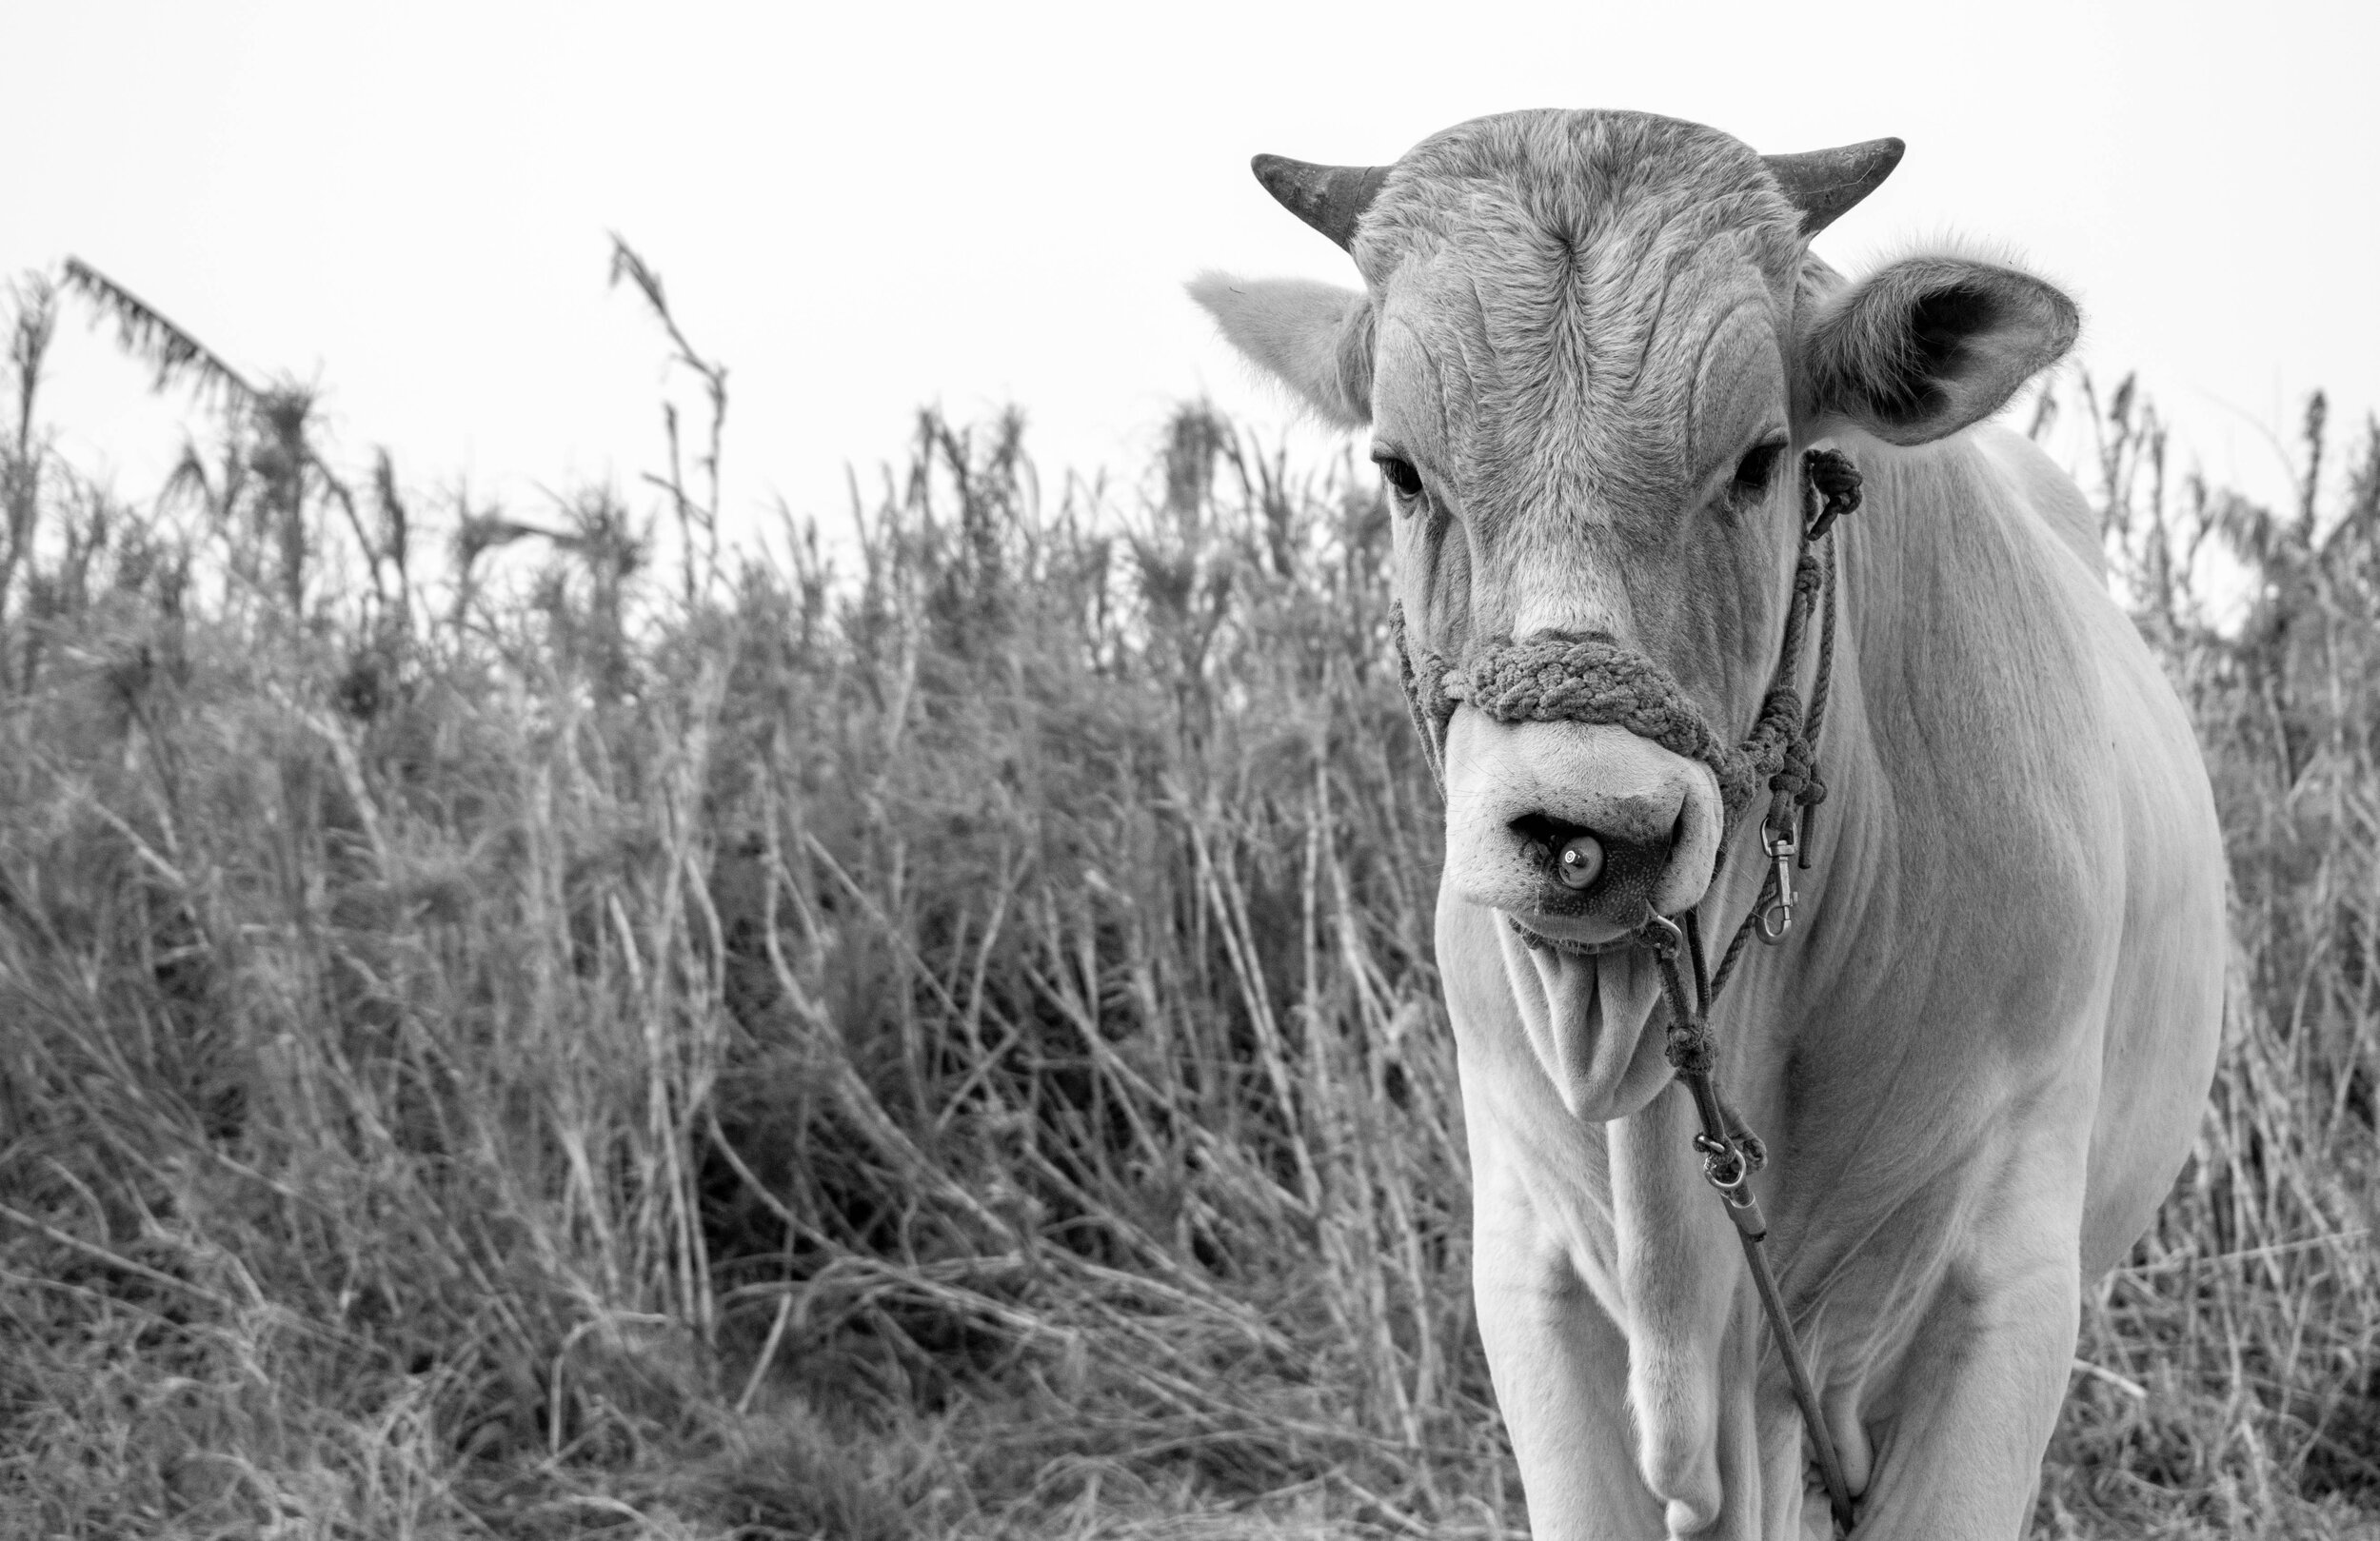
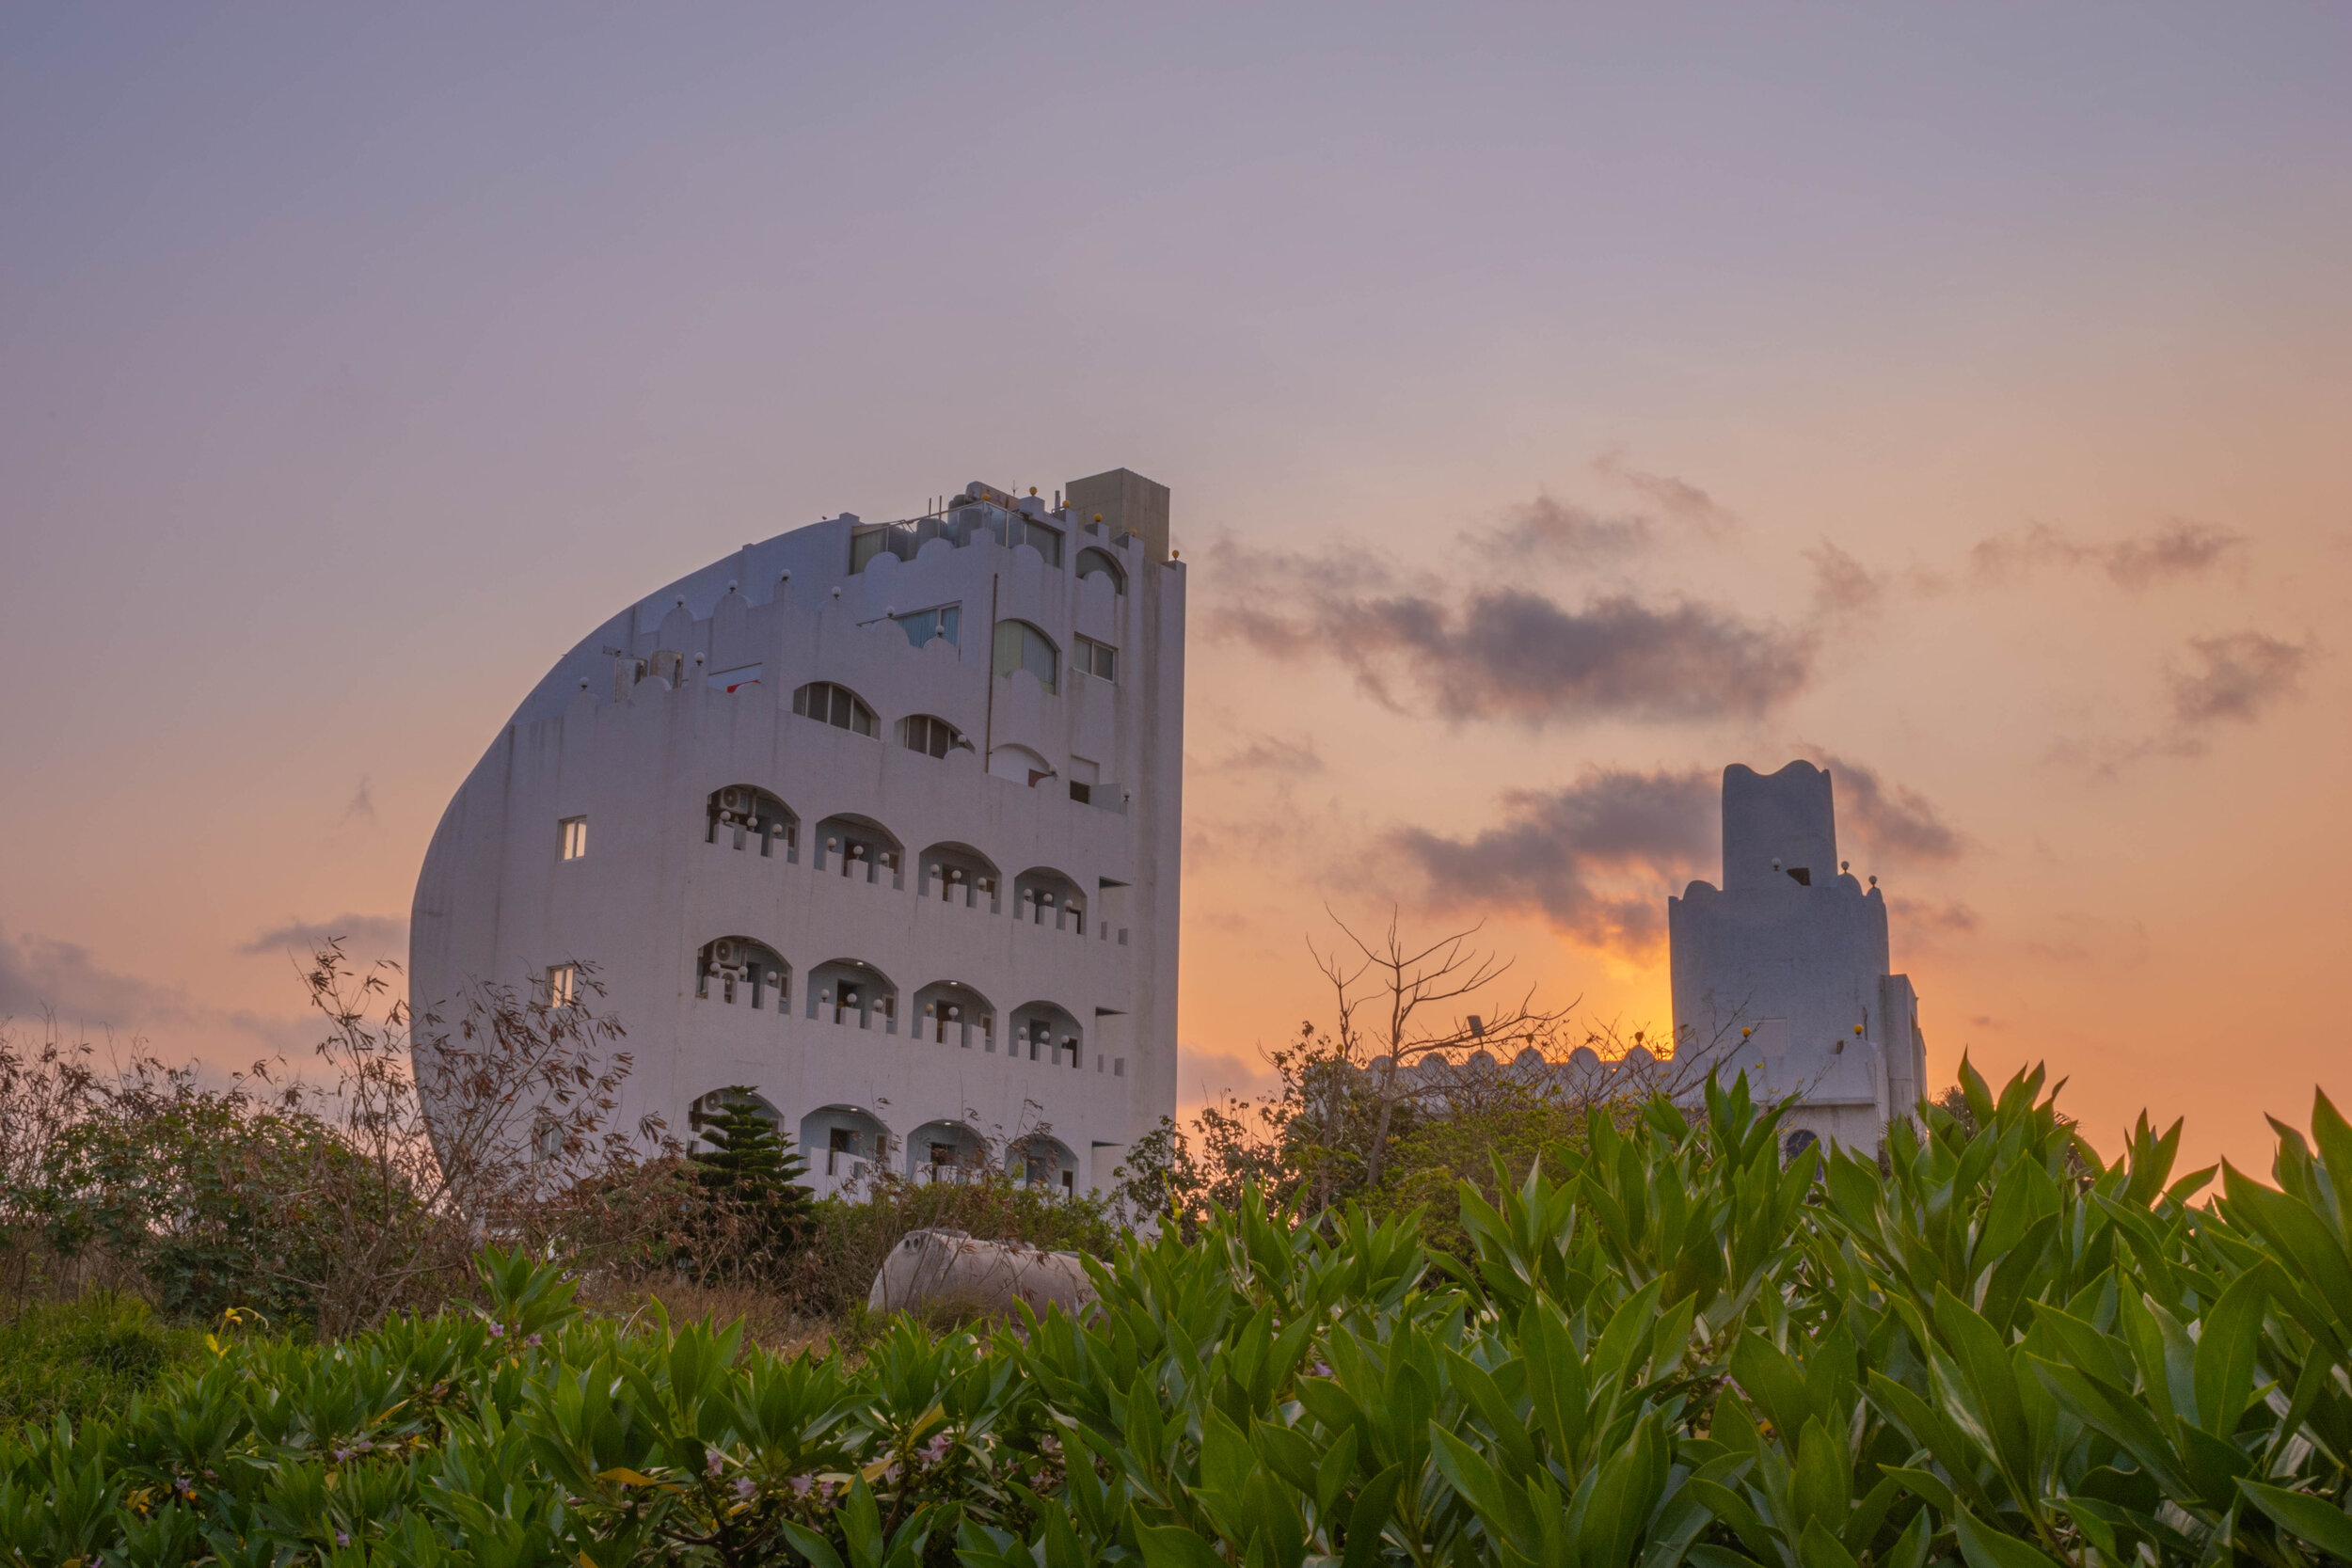
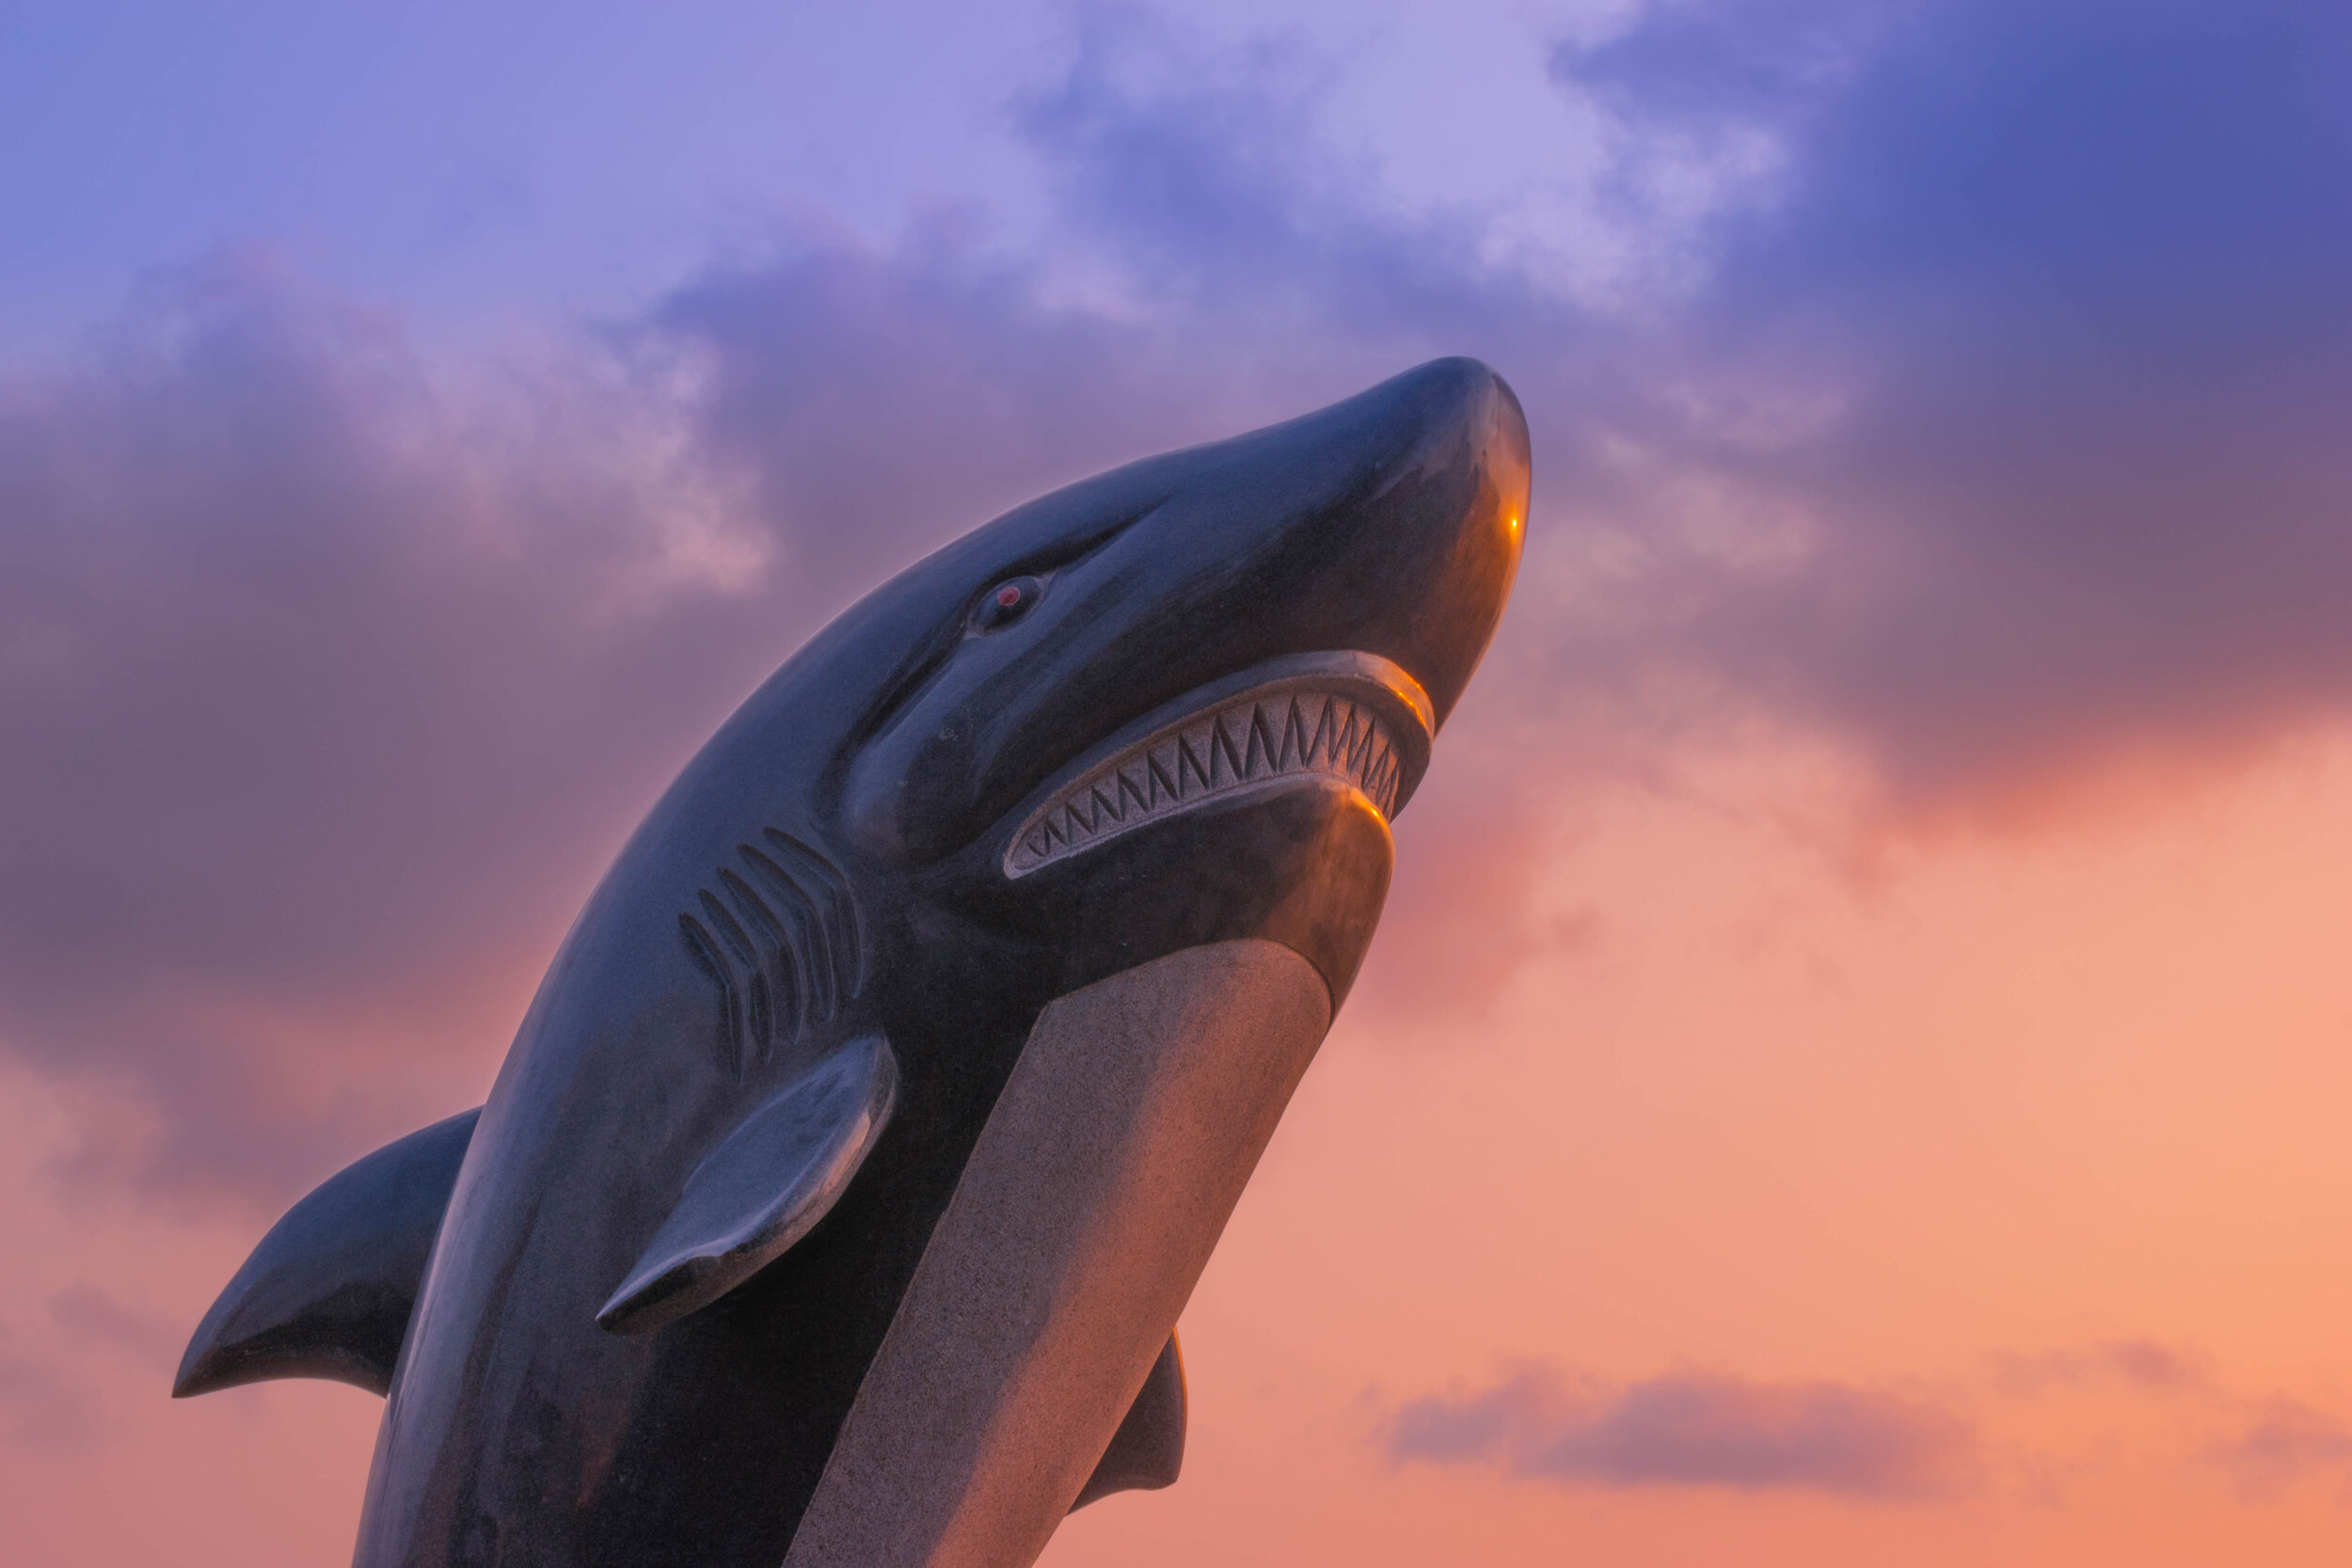
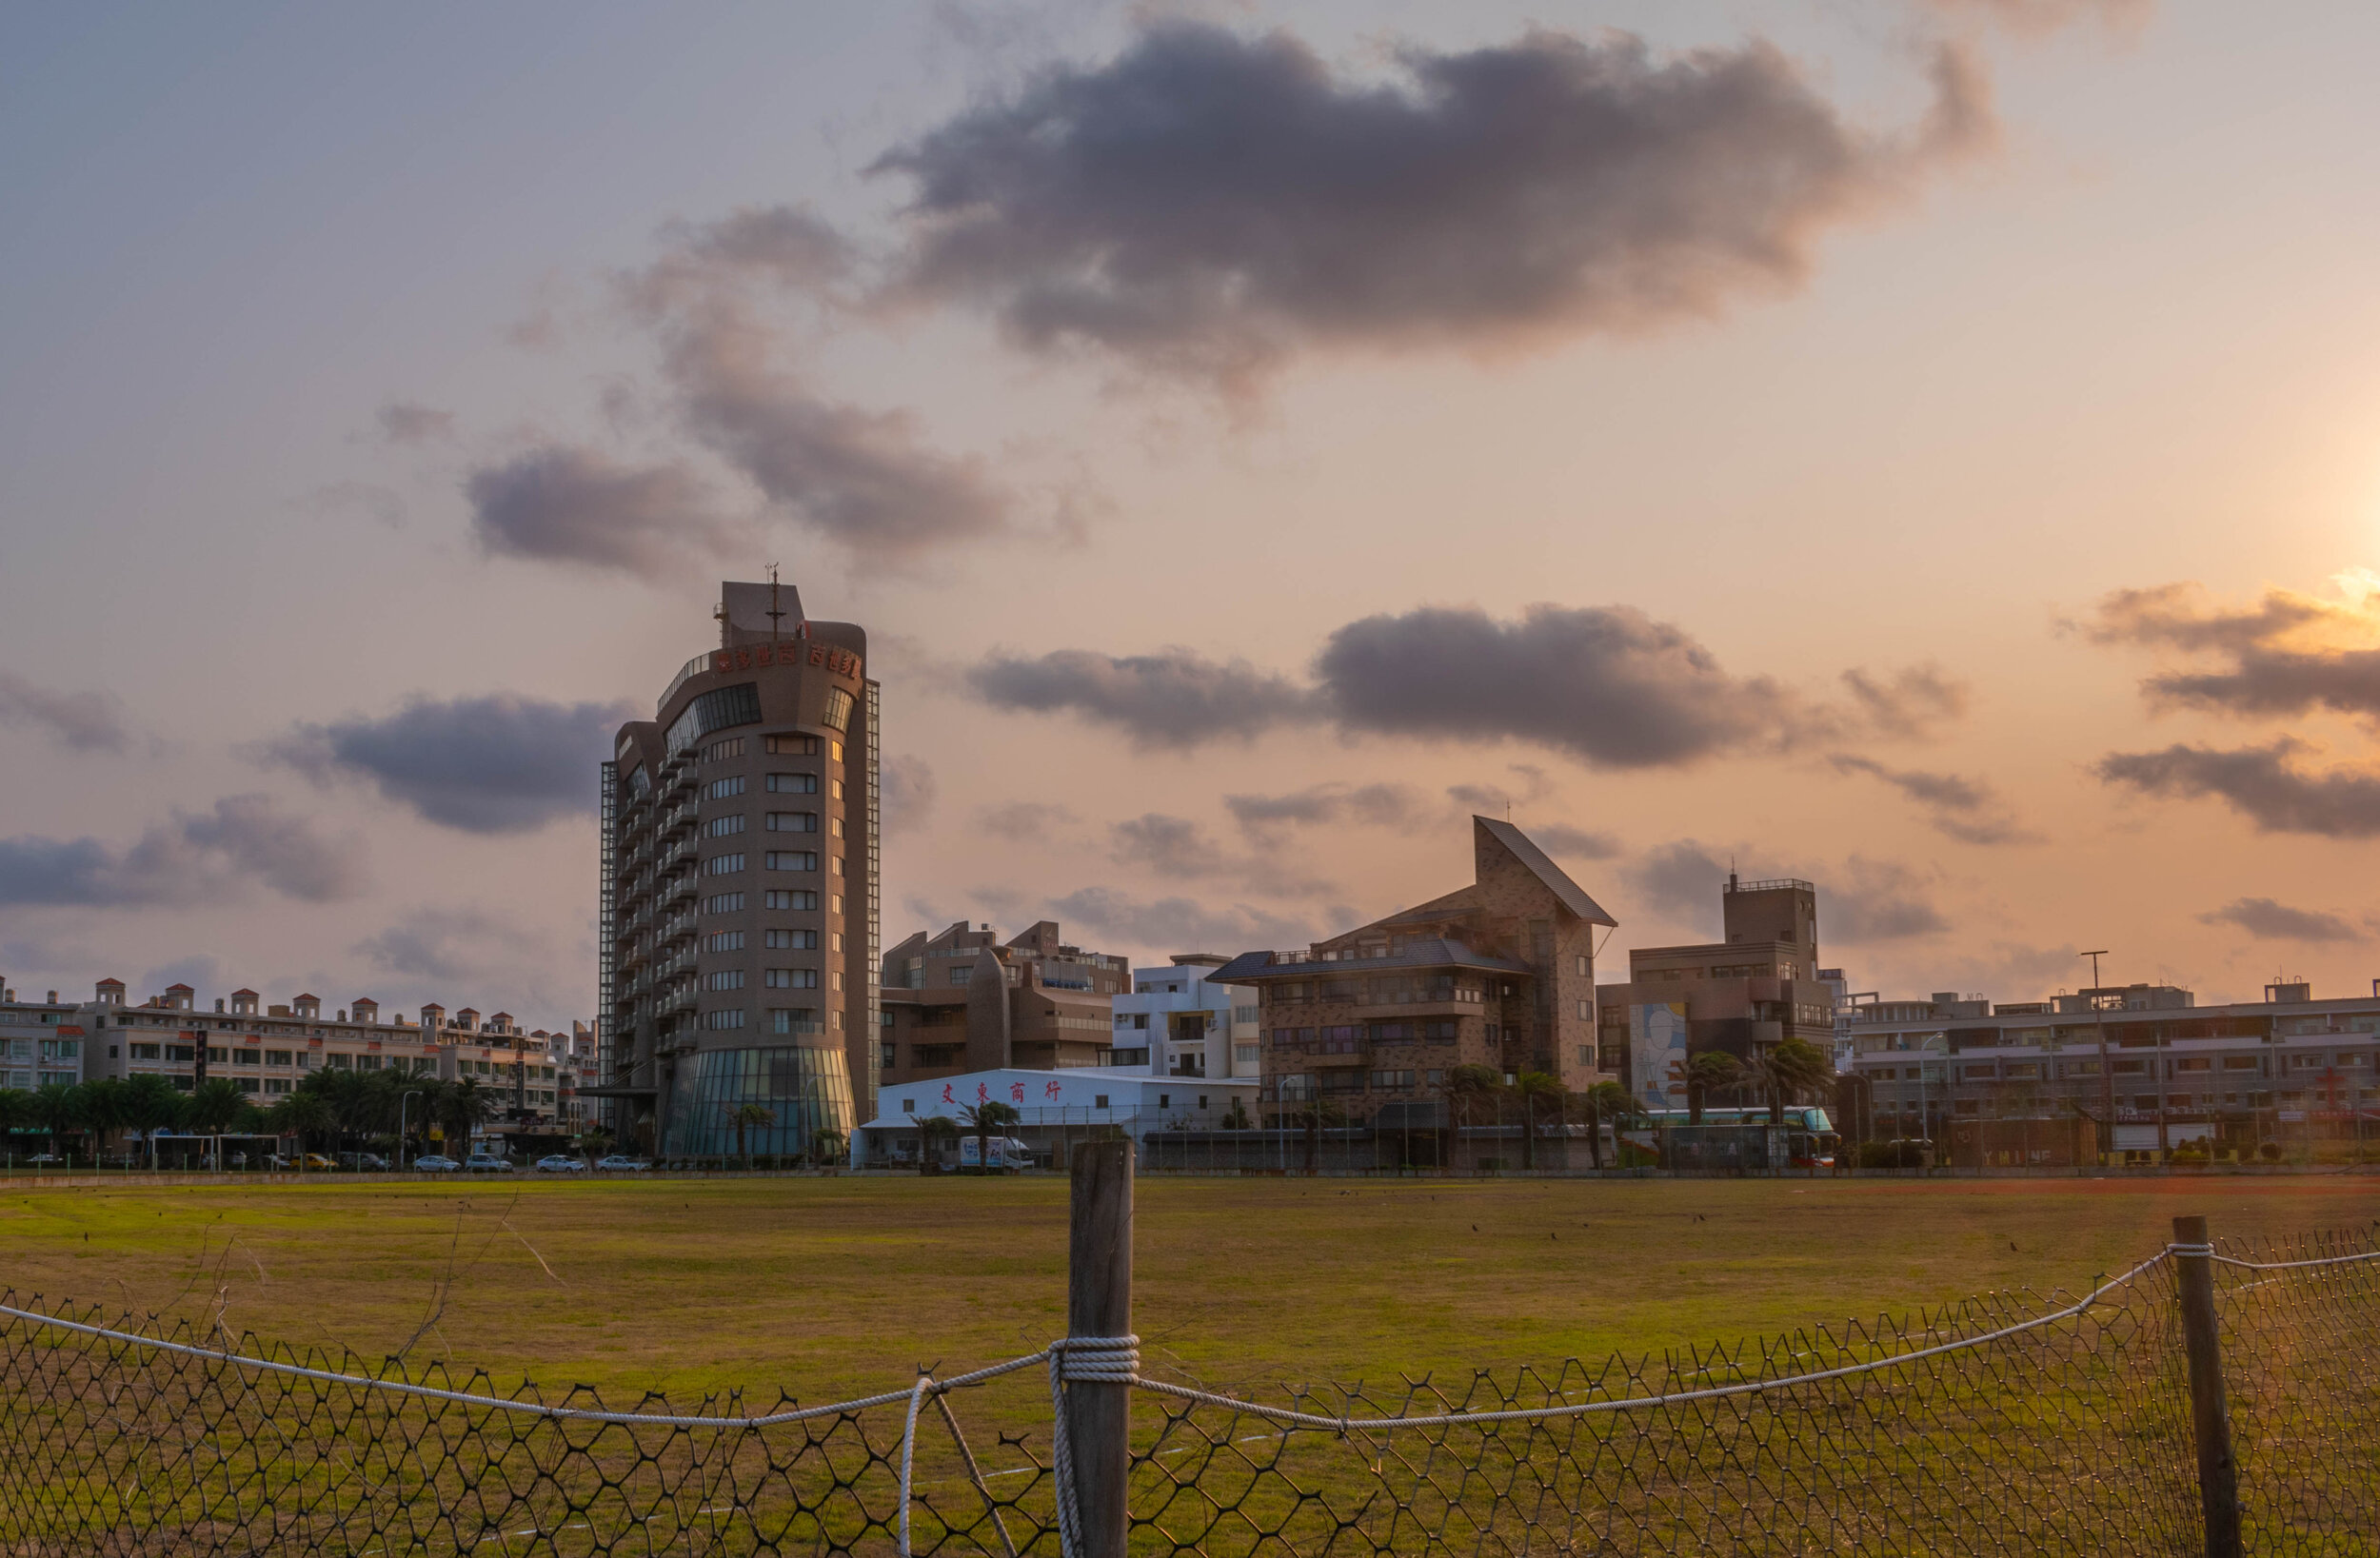
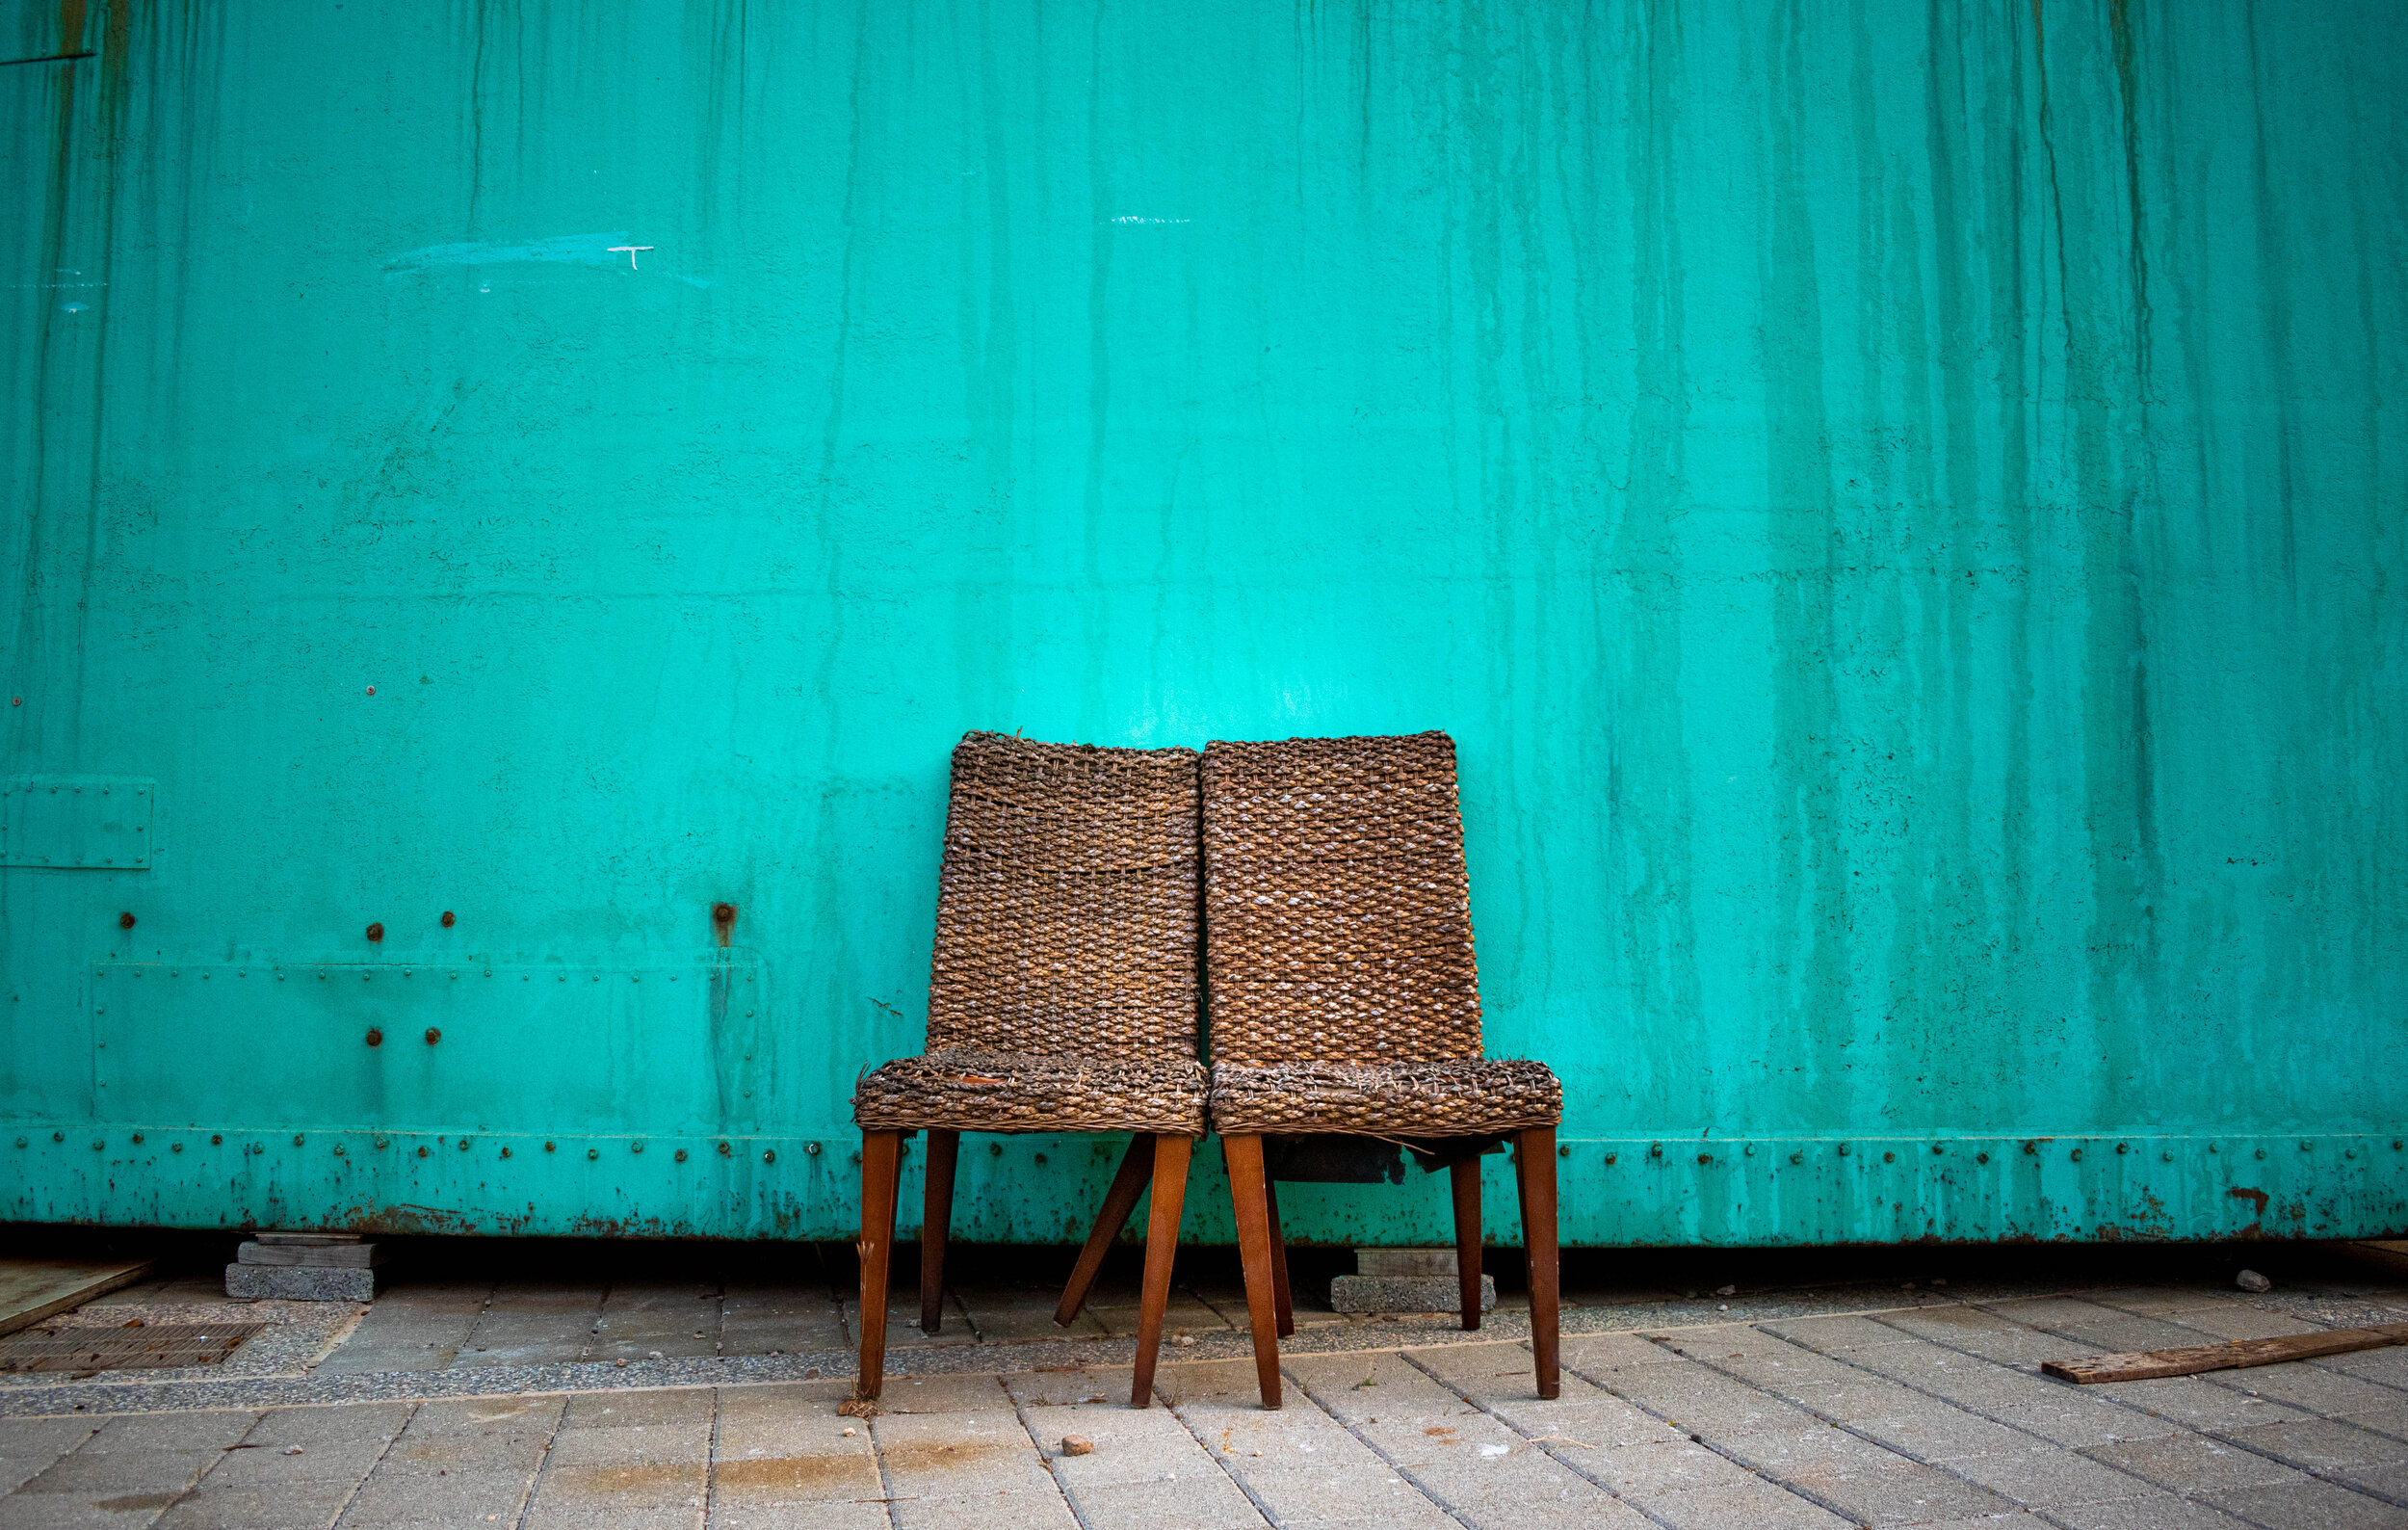
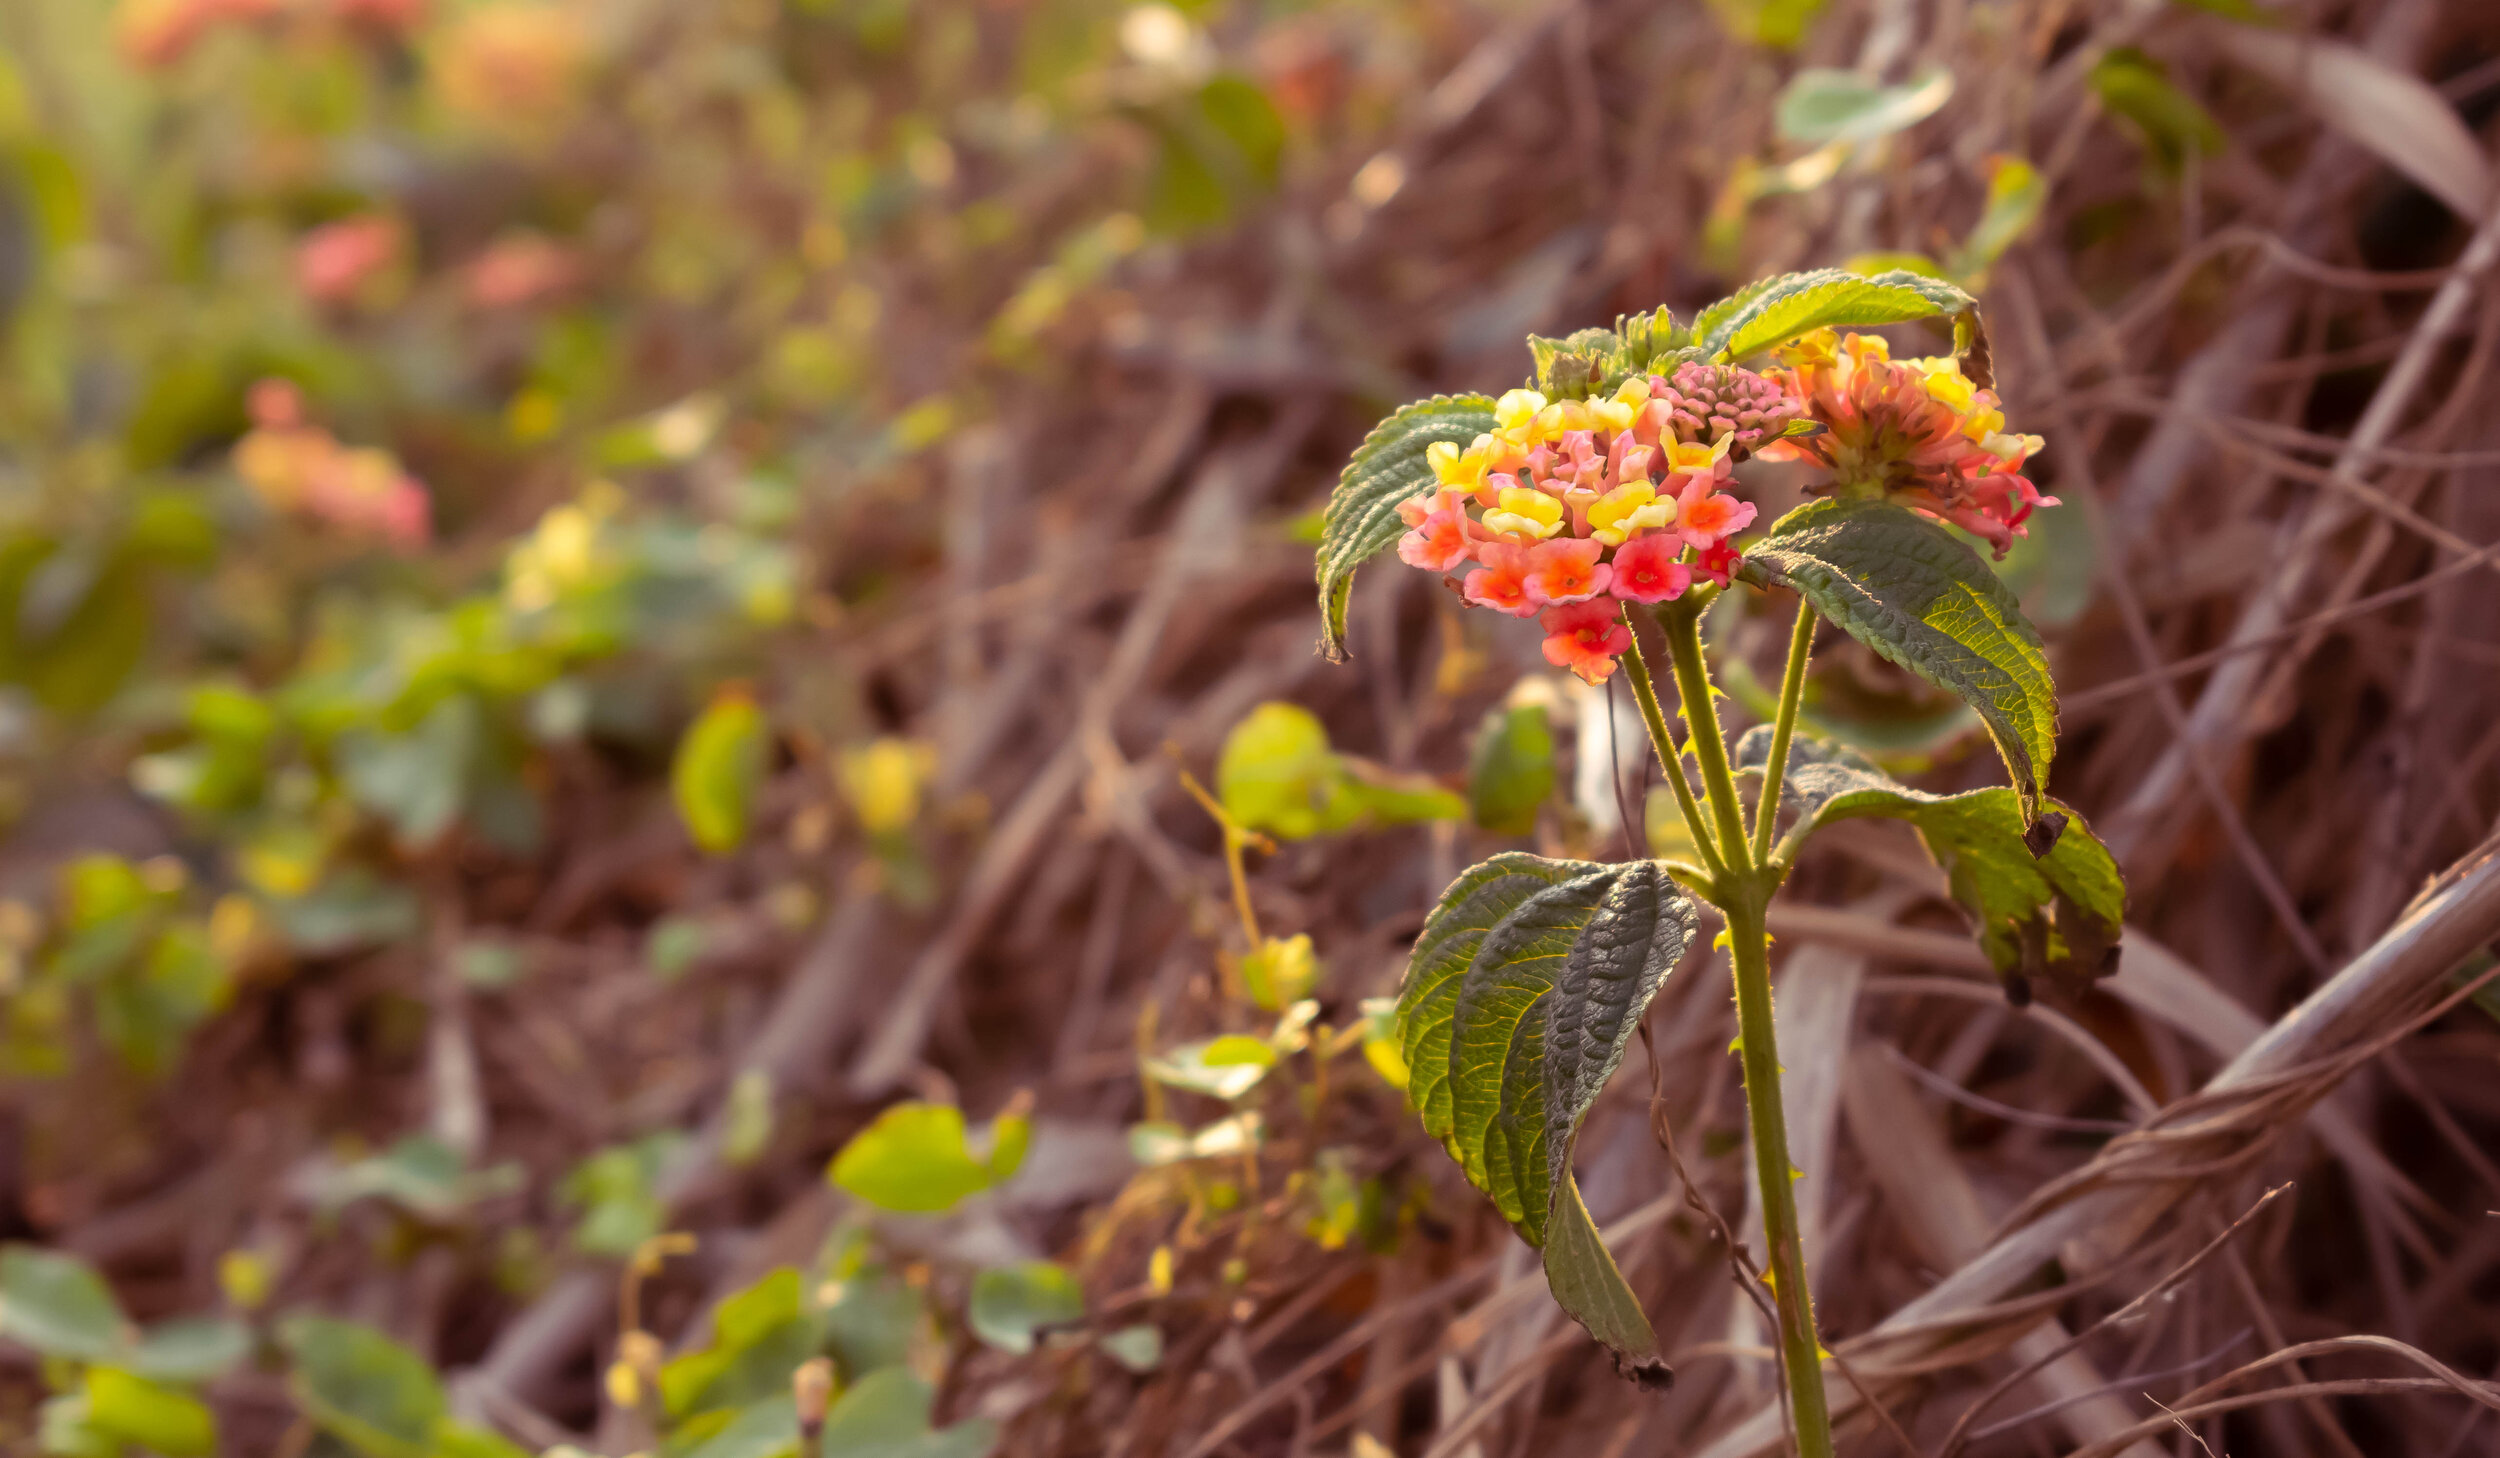
I thought I’d try staying closer to home today, instead of driving out somewhere like I had on the first few days this week. I climbed the cold steel ladder to my rooftop and shivered in the dawn light while waiting for the sun to show itself. When it did it was pale and watery and the sky stubbornly refused to put on a show for my lens. Disappointing. Not wanting to waste the considerable effort getting up had required, I decided to walk around my neighbourhood and see what I could find.
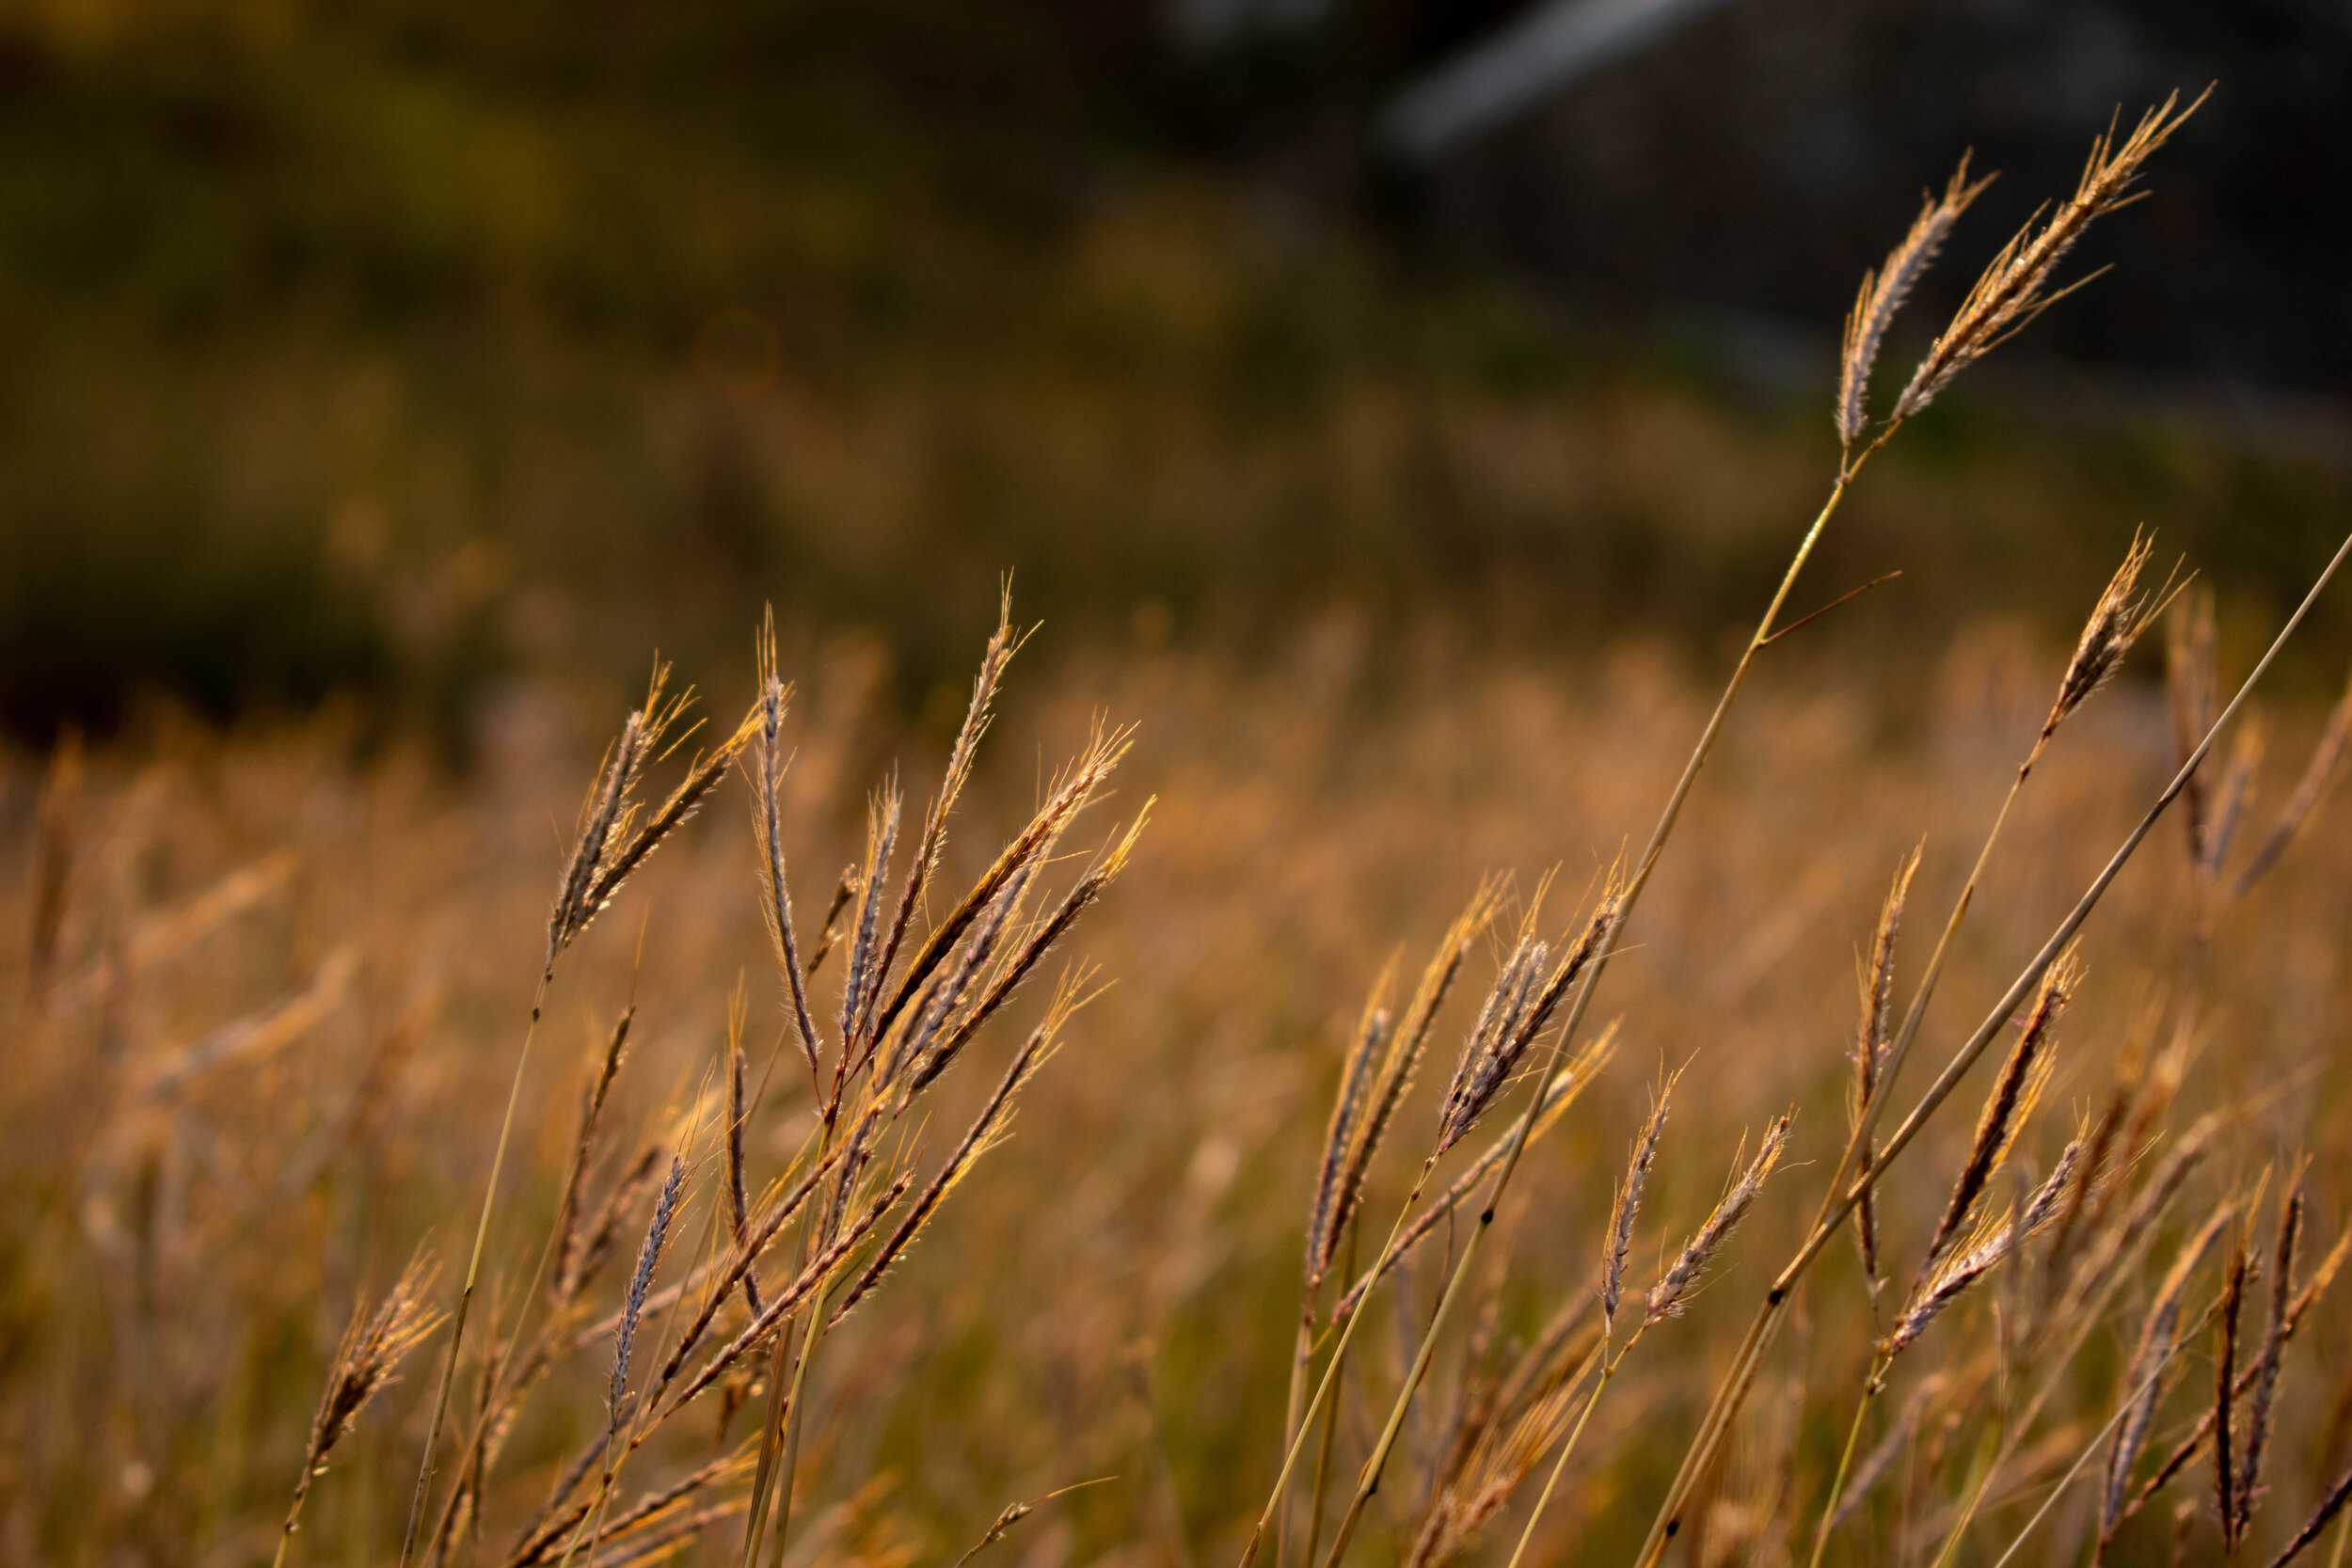
It Starts Here
Hello there and welcome to my new site. Some of my photos needed a new home. They asked me, politely, if they might be separated from the malaise of random social media posts, the politics, the memes, the selfies and the ads. If I could find them a quiet, unobtrusive place to rest and grow and await the online wayfarer’s roaming eye. I obliged and built this for them. A simple space to house my favourite images and attempt to develop and crystallise a unique voice and style. The first brave pioneers to ‘go West’ and attempt to eke out an existence in this pale, minimalist expanse of barren online land are photos which I have come back to over the months and years and which have garnered a bit more attention, among family friends and the odd stranger, than others. It’s currently a small collection of shots taken mainly with my phone and my drone and, only very recently, my first ‘real’ camera. Having upgraded both my equipment and my editing tools to make a more determined foray into the realms of photography, I think this is as good a time as any to start a photo blog.
I’ll try and post at least one image or collection of images a week, with a few accompanying thoughts, musings or details. I’ll endeavor to keep the word salad to a minimum (How’s that going so far?) and let the focus instead fall on the crunchy photo croutons. I hope you enjoy my photos and feel free to comment on them, to offer suggestions and advice, both on the images and the blog itself. Please be kind, I’m obviously not a professional and although I’ve taken many photos over many years, I feel like I’m just setting out on my journey. Let’s see where it takes me and who I meet along the way.


